Showing posts with label mod. Show all posts

Wednesday, October 29, 2008

Inspired Cannister Mod


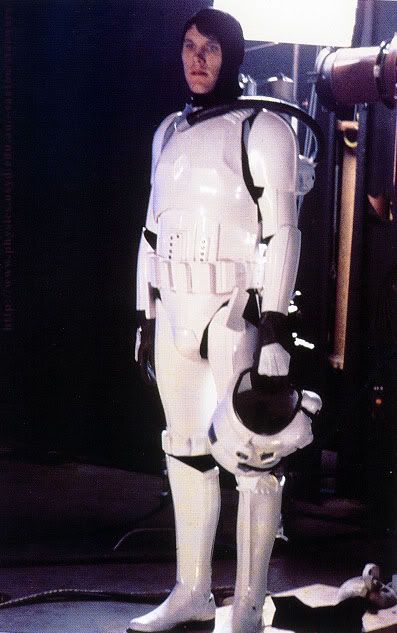
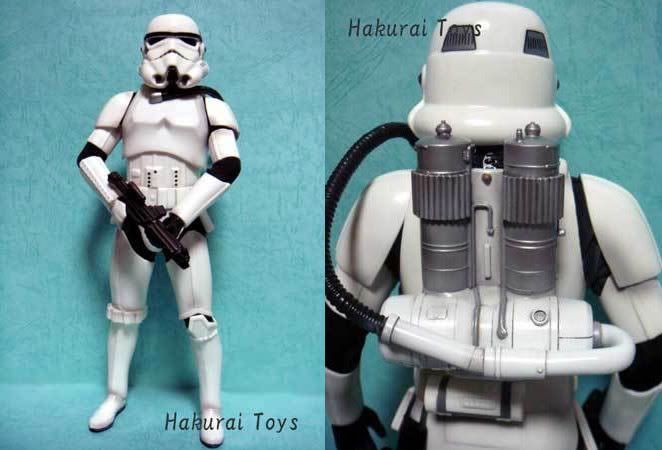
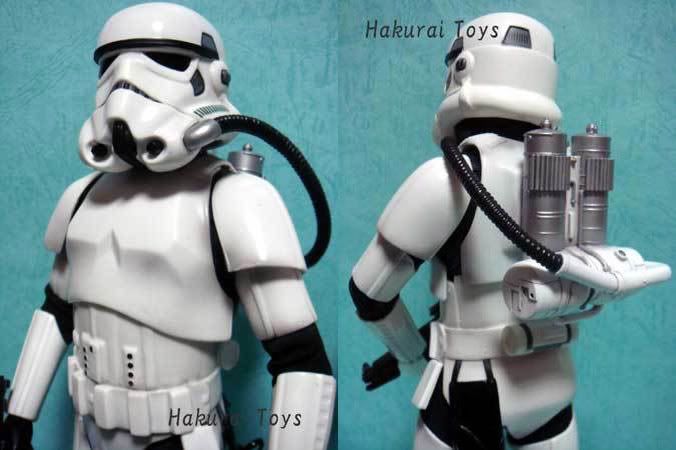
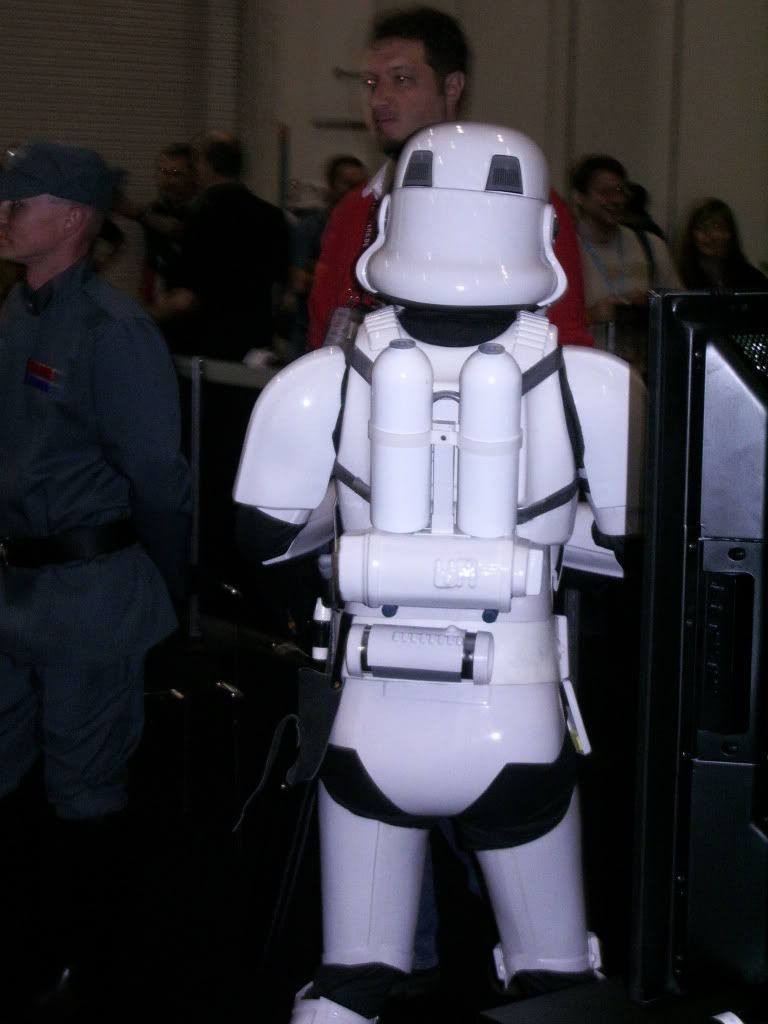
Over the years, I've fielded many inquiries regarding armor-building. In fact, finding a distinct lack of helpful feedback from existing armor owners was one of the main reasons why I launched this website six years ago. While I enjoy the dispensing advice about all things armor, it's enormously satisfying when I receive thanks from fans who have completed their own costume. And it's even sweeter when said fans have gone that extra mile to share one of their own modifications. Such is the case with this thermal detonator/O2 cannister mod sent to me by Rick:

Your sites have been an invaluable resource for my first experience at building armor. I thought I would share a mod of my own that I’m really thrilled with.

Basically, it is a thermal detonator with threaded caps, perfect for storing keys, cash etc.

PARTS:
FX Armor Thermal Detonator Caps and Control Panel
Two 2” Threaded female to pipe fittings
Two 2” Threaded male to pipe fittings
2” PVC pipe cut to exactly 2.5”
Aluminum Tape
Two keychain belt clasps
Four rivets
Gorilla Glue

Glue the 2.5” section of 2” PVC in between the two male threaded fittings to join together. The threaded ends will face outwards. The 2” PVC makes a nice flush tube through the center.

Wrap the Aluminum Tape around the smooth end of each female threaded fitting.

Glue the FX armor cap over the open aluminum end of each female threaded fitting.

Bend open and flatten one end of each belt clasp. Leave the other end in its bent shape to attach to your belt. Drill two holes approx 1.5” apart on the flat end and then bend it into a curve to fit around the canister.

Attach the belt clips to the center portion of the canister by drilling the holes and securing with rivets.

Attach the control pad to the center section with industrial strength velcro.

Hope you guys can share this with other troopers out there. If I get some free time, I’ll build another one and take more detailed photos of the assembly.

I just completed my first set of armor and have had a great time building it.


Feel free to contact Rick for more details on this mod.

Monday, May 19, 2008

Zero-G Troopers


One of the most obscure and overlooked Stormtrooper variants from the original trilogy is the trooper type seen outside the Death Star docking bay as the Millennium Falcon is being pulled in via tractor beam (pictured above). Although some fans refer to this trooper as the "Spacetrooper", the official Star Wars databank already has that particular name reserved for another Expanded Universe character. As such, I'm calling this a Zero-G trooper to avoid confusion and to emphasize the spacewalking nature of these troops.

There are only a few photos known to exist that document this rare piece of trooper equipment, and none show a great degree of detail. We know that the basis of this costume is the Stormtrooper armor with some additions (much like the Sandtrooper is really a Stormtrooper variant). This trooper wears some kind of oxygen-supplying backpack with a hose leading to the front of the helmet, and also wears his gloves untucked and pulled up over the forearm armor (giving the appearance of really long wrists!)

An interesting thread on the RPF (which has been going since 2005) revealed an unproduced Marmit 1/6 scale Zero-G trooper:


Marmit is known for their attention to detail and realism, but what is interesting is that the backpack tanks on the figure appear to be based upon the tanker truck model parts that were kit-bashed as part of the Death Star trench seen here:

This was speculated by RPF members even before the awareness of the Marmit prototype and you can see the same tanks in this screen capture:

TK-8456 of the UK Garrison has made a fantastic effort in reproducing the space pack with little reference to rely upon. A groundbreaking first try:

Meanwhile, the hunt continues as, even 30 years later, new images continue to pop up from the Lucasfilm archives.

TRIVIA: The two Spacetroopers from Episode IV are believed to be Star Wars alumnus Joe Johnston filmed twice and superimposed. However, this production photo seems to suggest otherwise:


Special thanks to everyone on the RPF for helping to source this information.

Sunday, February 24, 2008

LASIK: The Ultimate Mod

Any respectable Stormtrooper is always tinkering with their costume, whether it's adding new parts or improving old ones. The colloquial term for a modification is "mod". I have a whole section of the old site dedicated to trooper mods that make things easier, better, or more fun. Well, in late 2006 I made the decision to make what I would call "the ultimate mod," laser eye surgery. While some troopers deal with wearing eyeglasses while trooping, they are not comfortable given the confines of a Stormtrooper helmet, and they can fog up easily. For five years, I endured the increasingly aggravating use of rigid gas-permeable contact lenses beneath my helmet to deal with my nearsightedness. I was always concerned with how long I would be in costume since I knew the lenses became more irritating with time, and the sweat that inevitably ran down into my eyes didn't help the situation. I inquired amongst some other trooper friends and coworkers and decided LASIK (or more specifically, IntraLASIK) would be right for me. Fortunately, my eye doctor concurred (note that not everyone is a good candidate depending on the shape and condition of your eyes). This was the first pre-meditated elective surgery I've ever had, but I don't consider it cosmetic as much as functional (pity my insurance company doesn't see it the same way). The outpatient surgery was much simpler than I thought it would be and after 20 minutes of slicing and burning my eyes (yes, there is an odor of burning eye tissue), my vision was corrected to 20/15. Surprisingly, the procedure was fairly painless and the painkillers took the edge off. However, I must admit that the first 12 hours after the surgery are not fun. Think sand in your eyes. Light...any light...is blindingly painful and you need to force your eyelids open to administer prescription eyedrops. You may also experience some blurriness, starbursts, and halos around bright lights which can last several months. Even today, my eyes are dryer than they ever have been. While many would consider the procedure itself a bit unsettling, the end result was still the best $3000 I ever spent and just in time for my participation in the 2007 Rose Parade. Remember that LASIK is not for everyone so please consult one or more vision specialists before making the decision to have your eyes operated on!

Tuesday, October 30, 2007

Lenses (A Disclaimer)


Thanks to everyone who has tried (and fallen in love with) my single-piece flat lens mod. I make the lenses from welder's faceshield replacements and they have some small imprinted writing (a warning for welders) in one corner. It should be noted that this corner of the lens strip isn't visible through a helmet's eye holes when installed properly. So, please don't panic if you order a kit from me and it has the warning...some will have it, some won't. Here's a quick testimonial (from someone who had the writing):

I received the lenses the other day and they are great!! Really easy to install and limited, super limited fogging if any at all. I don't have any fans installed in my bucket yet, but for right now it is not needed. Thanks again bud.
-Struan R.


P.S. Sorry about the poor quality image. I'm testing out my new camera phone.

Wednesday, September 26, 2007

New Static Box Bursts onto the Scene

It's been a while since an affordable static box was readily available (anyone remember the $35 Galaxy Trading Static Box from 2003?). The existing offerings do their job well, but they could also end up being the most expensive part of your bucket. The Trooper Com Interface is the latest low-cost alternative. At this point I should tell you that I haven't seen or heard it in action. The creator (TB-1352) wanted to give me a demo at Dragon*Con, but we ran out of time. Admittedly, this unit does not offer multiple sound effects or pre-recorded audio files like the Hyperdyne or ROM FX, but at a fraction of the cost ($85 US or $95 Int'l including shipping) it looks like a fair alternative for troopers who want the added realism of a static burst to punctuate their dialog when interacting with the public. If you get one, let me know what you think.

Tuesday, June 26, 2007

Hovi Mix Mic Tips

One of the simplest upgrades you can make to your helmet is to get some screen-accurate Hovi Mix microphone tips replicas to replace the faucet aerators that come with the FX helmet kit. Resin castings of these original parts are fairly common now and only cost about $10 US per pair. Contact Russell if you are looking for a set. You can even wire mini-speakers inside your mic tips to use in conjunction with your voice amp. More on that later...

TRIVIA: The Hovi Mix mic tips were also used as the top of the comlink prop used by C-3PO and Luke during the Trash Compactor scene in Episode IV: A New Hope. The newer prop shown in the Star Wars Visual Dictionary is not the original.

Got Static?

I just purchased a second-hand ROM/FX Static Burst/Voice Amplifier unit and started playing around with it. A "static box" is a custom circuit board that adds the cool walkie-talkie clicks and radio noise that is heard after a Stormtrooper speaks in Star Wars. The static (in combination with a voice amplifier) really adds a nice element of realism to the costume. I acquired the "Pro" version, which comes with a speaker, microphone, battery boxes, three wired buttons for alternate sound effects, and some other add-ons. This particular set-up cost me $250 US which isn't too bad considering the current exchange rate (USD to GBP). On top of that, availability of the ROM/FX unit through their site is somewhat unpredictable. My old FX helmet had the classic "Radio Shack" voice amp set up (no longer in production). You can still get an inexpensive mini amplifier but you'll need to buy the microphone separately. I had an old "GT Static Box" from around 2002 (now out of production) but it never seemed to work quite right so I ended up using the low-tech "blow into the mic" technique to punctuate my sentences with a static burst. This approach actually worked really well over the past five years, but the poor man's "static burst" sound isn't movie-accurate. Since I got a new RT-MOD helmet, I figured it was time for an upgrade. Pulling out the old wiring from my FX bucket was going to be difficult anyway and would depreciate any resale value should I decide to part with my trusty old oversized bucket. Playing with the settings was simple and the sound effects are great (mine came customized with three sound clips in addition to the static burst effects). There is quite a bit of wiring, mostly due to the two battery packs which each hold 4 AA batteries, so I'll have to play around with the best way to pack this all into my helmet. Some people install these things behind their chest armor or on a belt-pack, but I like the all-inclusive helmet package.

TRIVIA: The static burst audio effect is only heard on Stormtroopers in Episode IV: A New Hope. Curiously, the static is absent from trooper chatter in all of the other Star Wars films.

Wednesday, June 20, 2007

Ab Plate Button Mod

It's amazing how small modifications can really change the overall look of your armor. The bulk of my armor is still the tried-and-true FX suit that I bought in 2002. However, with a new helmet and this ab plate modification, other troopers always ask me what type of armor I have (thinking that it's not FX, but not sure exactly what). Anyway, the ab plate buttons that come with the FX suit are actual black buttons that are glued into holes in the abdomen. The screen-used suits had the "buttons" molded into the plastic and were simply painted blue and gray. This is one of those cases where you might say "Hey, I don't care what the actual costumes look like! Real buttons are much cooler than painted-on buttons," and I'd agree with you. Up close, the FX buttons look more "real" and functional versus something just painted. It's a matter of fictional realism versus accurate reproduction. Have a look at this actual screen-used Return of the Jedi-style Stormtrooper armor that has been on exhibit. The abdomen button plate is unpainted and upside-down. How ugly is that?! My preference was to change the black buttons to ones with color, as seen in Stormtroopers from Episode IV: A New Hope, and to make them slightly smaller. Dagobah Swamp has a good tutorial for this, and I essentially did the same thing except I used thumbtacks rather than metal screw posts.

TRIVIA: Among other subtle differences, Sandtroopers do not have buttons on their abdomen plates. The Tatooine desert scenes in Episode IV: A New Hope were reportedly some of the first that were filmed around 1976, and thus the costumes weren't quite "final."

Single-Piece Flat Lens Strip Mod

When I upgraded from the FX helmet to the more accurate RT-MOD in December 2006, I decided to try a single piece lens for simplicity of installation as well as convenient future replacement. Photos of the original screen-used helmets show a flimsy green sheet of plastic was used for lenses. Of course, movie props are typically built to serve their seconds of screen time, not to last for years of troopin' abuse. So I've used the dark green welder's faceshield replacement (the standard for troopers these days) which is much sturdier. Having previously used these in the two-piece lens set-up, I knew the tint was dark enough to hide my eyes---even in the flash of a camera---and yet light enough so as not to impair my vision. The lens strip is held in place by two plastic spring clips that are bonded to the inside of the helmet with DevCon Plastic Welder. Because I am able to quickly remove the entire lens strip, applying anti-fog spray, wiping condensation from the lens, or even repainting the inside of the helmet is now a breeze. Speaking of breezes, there is no need for an air-tight seal around the eye holes. In fact, the gaps (no visible from the outside) help improve much-needed airflow inside the helmet. Read more about the installation of the single-piece flat lens here.

TRIVIA: One easy way to tell "hero" helmets from "stunt" helmets in Episode IV: A New Hope is bubble (hero) versus flat (stunt) lenses.